Categories Residential

The Essential Defense: Why Surge Protectors Matter for Your Home

Electricity is the silent partner in our homes, working behind the scenes to energize our appliances and keep our lives running smoothly. But when an unexpected power surge occurs, that quiet ally can become a formidable foe, causing significant damage to our electrical devices. One solution rises above the rest: a surge protector. At Turn It On Electric, we’re here to unpack the benefits of this unsung hero of home safety.

Unpacking Power Surges

Imagine an abrupt, intense wave of electrical energy jolting through your home’s circuits – that’s a power surge. They can stem from various causes, such as lightning, disruptions in the power grid, or high-energy devices cycling on and off in your home. Though small surges may go unnoticed, the intense ones can result in considerable damage to your electronics, or in extreme cases, even lead to electrical fires.

The Shield of Surge Protectors

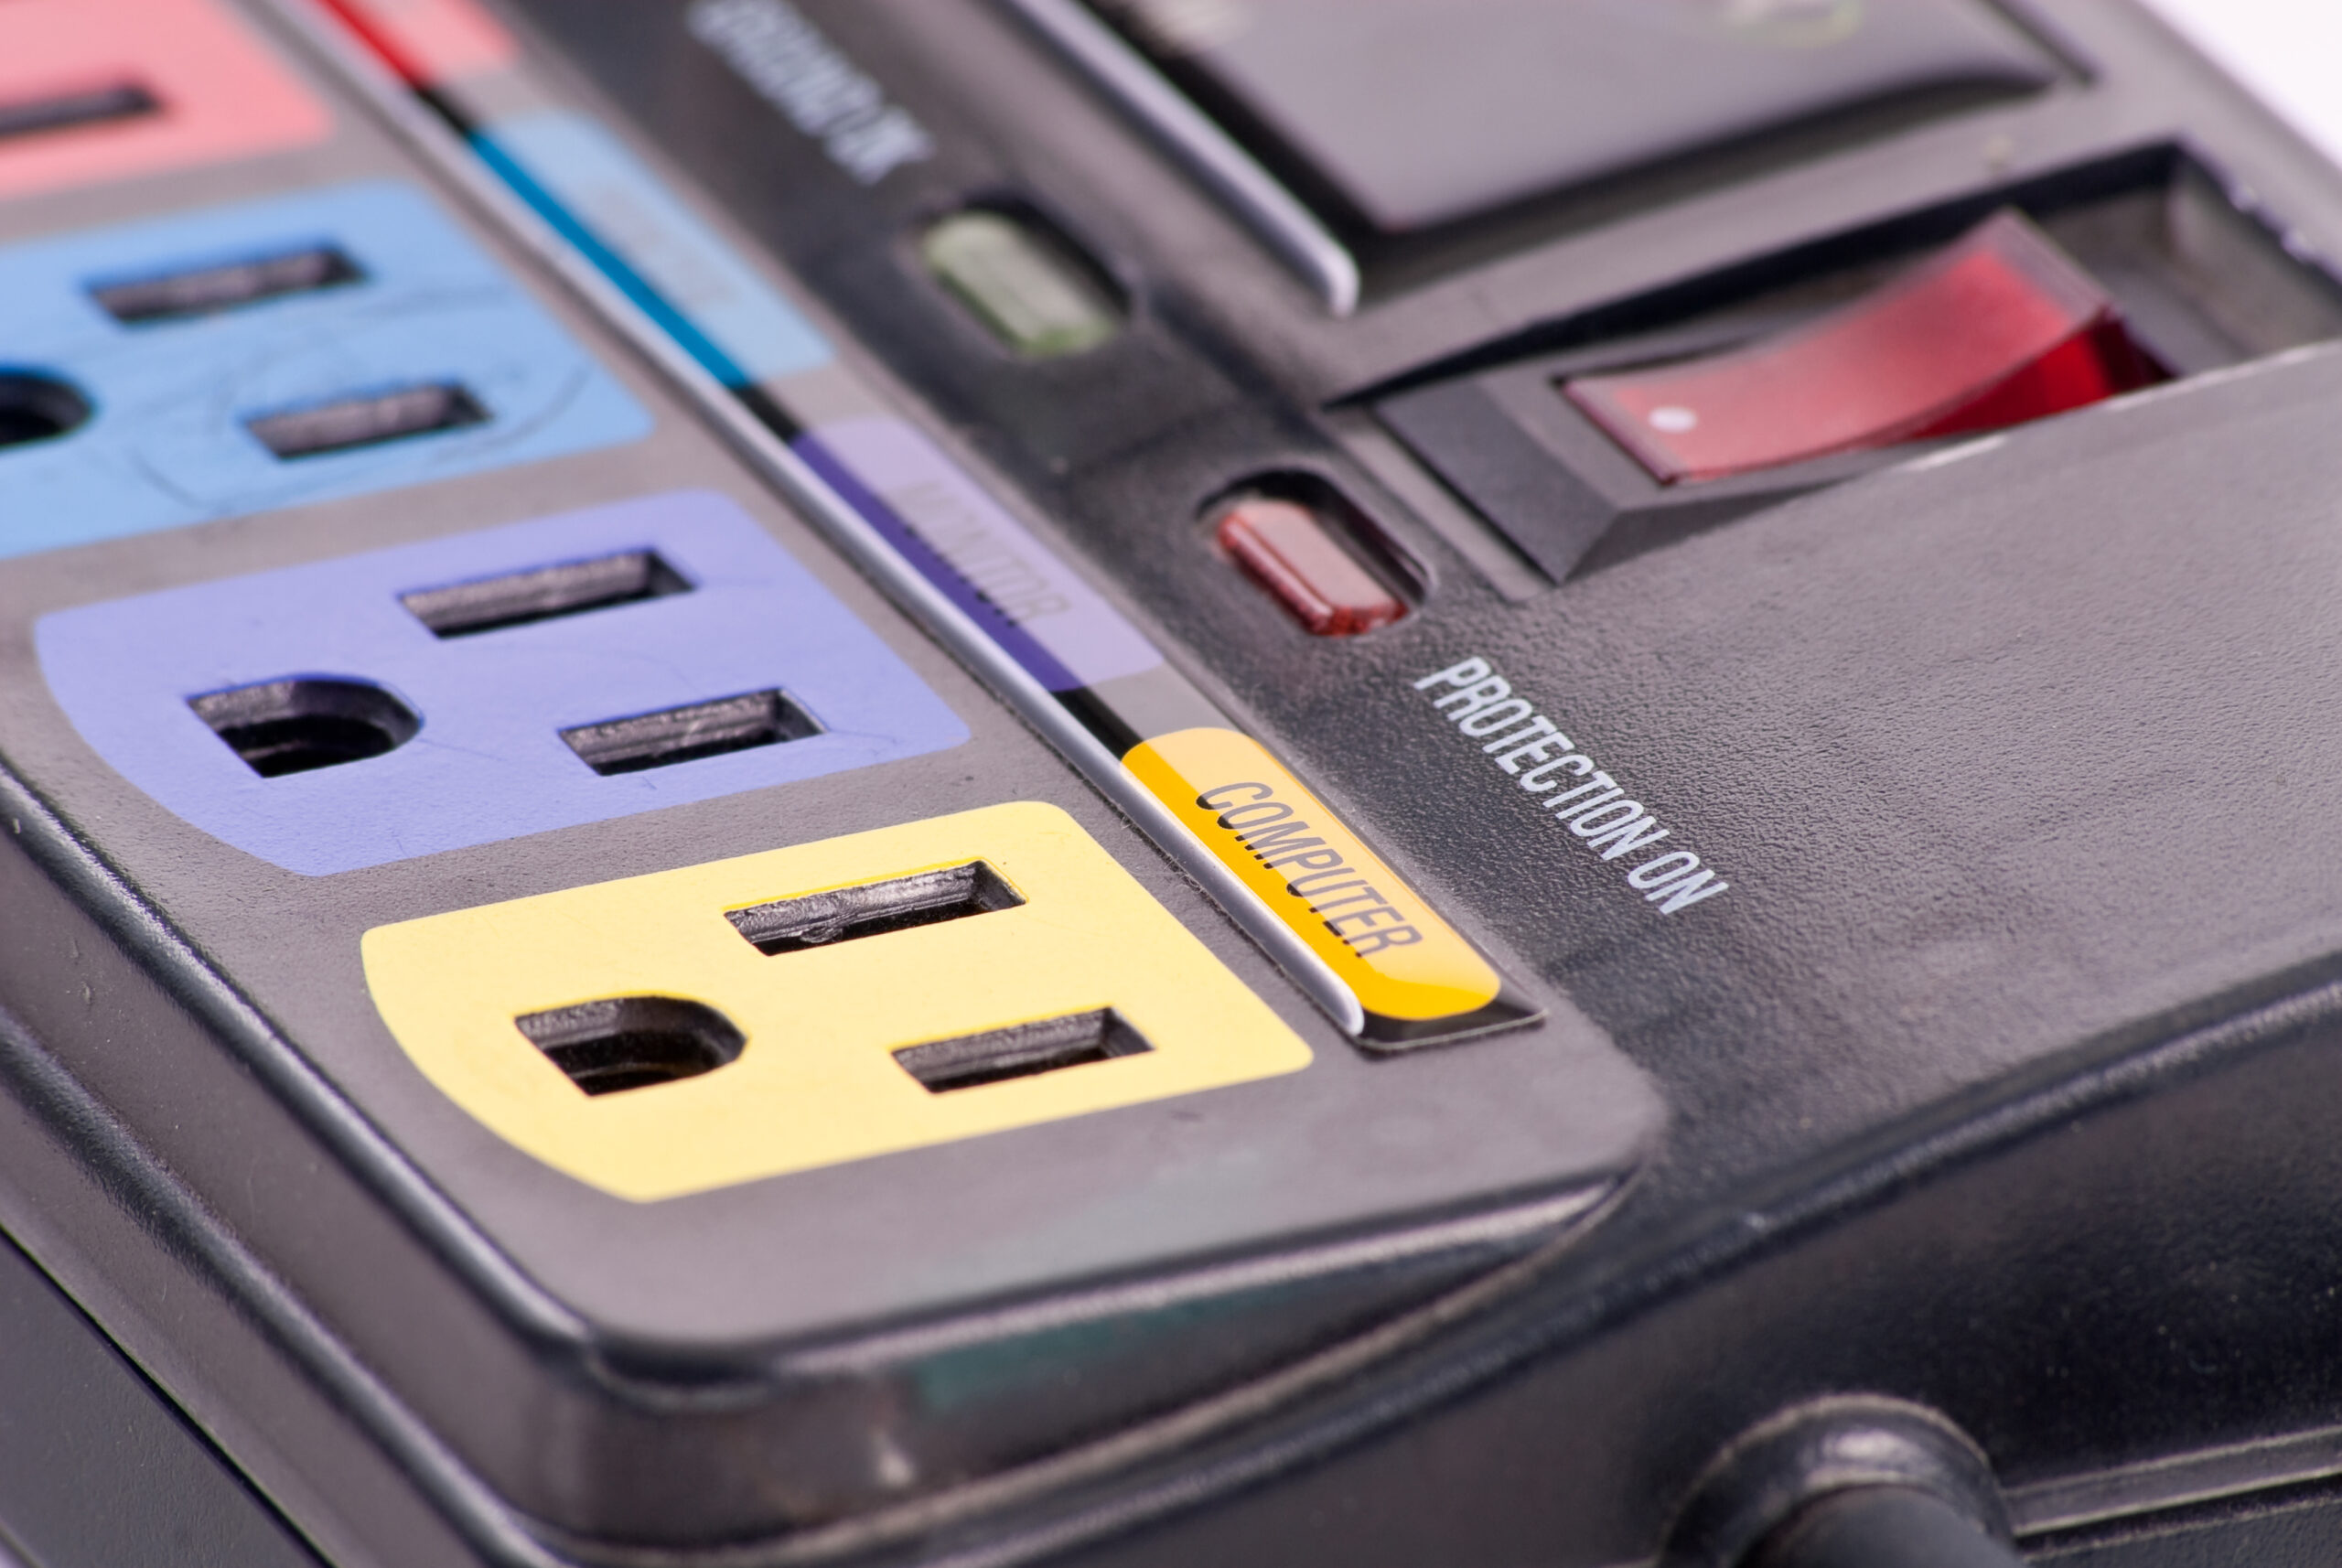
Surge protectors are the guardians of your electrical devices, warding off potential power surges. They work by channeling any extra voltage safely into the ground, allowing only the necessary electricity to reach your devices. By doing so, they protect your appliances, potentially extending their lifespan and saving you from costly replacements.

Embracing Whole-Home Surge Protection

You might be familiar with the portable surge protectors that connect to wall outlets, offering defense for specific appliances. However, there’s an even more robust solution – whole-home surge protectors. These are installed directly into your home’s electrical service panel and provide protection to all your home’s electrical systems. This includes hardwired appliances, like HVAC systems, which can’t be safeguarded by portable models.

The Impacts: Beyond Protection

When you invest in a whole-home surge protector, you are investing in more than just the safety of your electronics. Let’s delve into the broader implications:

All-around Security: Whole-home surge protectors provide an umbrella of safety, safeguarding all your electronic devices – from your refrigerator to your laptop.

Economic Advantage: By preventing potential damage to your appliances, you dodge costly repair or replacement charges. It’s an investment today that prevents expenses tomorrow.

Assurance in Every Spark: The certainty that your home is defended against damaging power surges offers comfort and peace of mind.

The Turn It On Electric Promise

By partnering with Turn It On Electric, you’re not just choosing safety, you’re choosing a secure future. Get ahead of the game by scheduling an appointment with our seasoned technicians today. We’re committed to fortifying your home against the potential pitfalls of power surges. Remember, if it’s not right, we’re not done.

Categories Residential

Powering Through: Steps to Take When Part of Your Home Loses Electricity

Unexpected power loss in parts of your home can be alarming and inconvenient. It’s a situation that requires swift attention and understanding to restore your home to full functionality. At Turn It On Electric, we are committed to guiding you through these confusing moments. Here are key steps to follow when you find yourself in the dark:

Step 1: Check Your Breakers

Your circuit breakers are your first line of investigation. A tripped breaker could be the reason why only part of your home has lost power. To identify a tripped breaker, look for the switch that isn’t aligned with the others. If you find one, flip it fully off and then back on to restore power. Remember to always use caution when handling your electrical panel.

Step 2: Determine the Extent

Try to figure out which areas of your home are without power. Is it a single room, a specific area, or a collection of outlets? This will help diagnose the issue and can provide useful information if you need to call a professional.

Step 3: Assess Your Appliances

Check the devices and appliances in the affected areas. Are they working correctly, or do they seem to be causing the power outage? Sometimes, a faulty device can overload a circuit, causing the breaker to trip.

Step 4: Call for Backup

If the above steps don’t restore power, it’s time to call in the professionals. Persistent issues could indicate a more severe problem with your home’s electrical wiring or circuit breakers. Don’t attempt to fix these issues yourself, as it can be dangerous.

Time for Turn It On Electric

When your home is suffering from power loss, Turn It On Electric is ready to illuminate the situation. Our expert team is here to assess, troubleshoot, and resolve your electrical issues. We prioritize on-site inspections, believing in the importance of tailored, face-to-face service.

At Turn It On Electric, we bring light into the darkness, offering a guiding hand in your time of need. Don’t let power loss keep you in the shadows – CONTACT US TODAY, and let’s work together to power your home back to normal. We’re committed to your safety and satisfaction because at the end of the day, it’s not just about doing the job, it’s about doing it right.

Categories Electrical Wiring, Electrician, Residential, Safety

Steps to Take After a Failed Home Electrical Inspection

electrical inspection

If you’ve recently undergone a home electrical inspection and were notified that your home was not up to code, there’s no need to panic. However, there are some crucial steps to take to ensure the safety of your home and loved ones, while at the same time addressing any issues to get your home back on track to meet all the required safety standards.

In this article, we’ll explain what steps to take after a failed electrical inspection so that everything goes smoothly from that point forward.

  1. Understand the Findings: The first step is to carefully review the inspection report and understand the specific areas that failed to meet the requirements. The report should provide a detailed explanation of the issues and recommendations for resolving them. If there are any terms or concepts you don’t understand, don’t hesitate to seek clarification from a licensed electrician or inspector.
  2. Hire a Qualified Electrician: To address the problems identified in the inspection, it’s crucial to hire a qualified electrician. Look for a reputable electrical contractor who is licensed, insured, and experienced in residential electrical work. They will have the expertise to accurately assess the issues and provide effective solutions. Of course, we at Turn It On Electric would be happy to assist with any of your electrical needs in a situation like this
  3. Prioritize Repairs: Once you have chosen an electrician, work with them to prioritize the repairs. Some issues may require immediate attention due to safety concerns, while others may be less urgent. Discuss your budget and timeline with the electrician to develop a plan that suits your needs. By addressing the most critical problems first, you can ensure the safety of your home while managing the costs effectively.
  4. Obtain Multiple Quotes: It’s always a good idea to obtain multiple quotes from different electricians before proceeding with the repairs. This will give you a better understanding of the costs involved and help you make an informed decision. Remember, the cheapest option may not always be the best, so consider the electrician’s reputation, experience, and customer reviews alongside the price. Take a few minutes to learn the most important questions when hiring an electrician.
  5. Schedule the Repairs: Once you have chosen an electrician and received a quote, schedule the repairs at a convenient time. Depending on the complexity of the issues, the repairs may take a few hours or several days to complete. Be prepared to make alternative arrangements during the repair process if necessary, such as temporarily relocating to another part of your home or staying with a family member or friend.
  6. Retest and Obtain Certification: After the repairs have been completed, request a reinspection to ensure that all the issues have been resolved. Once your home passes the reinspection, you will receive a certification stating that your electrical system meets the necessary safety standards. This certification is important, as it may be required for insurance purposes or when selling your home in the future.

As you navigate through the process of addressing the failed electrical inspection, it’s essential to remember that your safety and the safety of your family should always be the top priority. By promptly addressing any electrical issues and working with qualified professionals, you can ensure a safe and secure home environment.

Remember, electrical inspections are crucial for identifying potential hazards and maintaining the integrity of your electrical system. To further expand your knowledge about electricity and electrical safety, visit the Electrical Safety Foundation International (ESFI) website (link: https://www.esfi.org/). They offer a wealth of resources and information to help you stay informed and make informed decisions about your home’s electrical system.

In conclusion, a failed electrical inspection is not the end of the world. By understanding the findings, hiring a qualified electrician, prioritizing repairs, obtaining multiple quotes, scheduling the repairs, and retesting the system, you can successfully address the issues and ensure the safety of your home. Take action promptly, and soon your electrical system will be up to code. If you need help or advice along the way, feel free to contact TIO Electric

Categories Electrician

5 Things To Do Before You Call an Electrician

Call an Electrician

When you contact tech support for help with your laptop or iPhone, the first thing the specialist asks is, “Did you turn it off and turn it back on?” If an electrical appliance or a light fixture is problematic, that’s the first thing you do before you call an electrician. Turn it off and turn it back on. If there are no signs of danger (burning, etc.), unplug it. Plug it back in.

Here are 5 additional steps to take before you call an electrician.

1. Troubleshoot the Outlet Before You Call an Electrician

The most frequent electrical issues are problems with outlets. To troubleshoot an outlet that isn’t working:

  • Check the circuit breaker – A tripped breaker will probably show the switch halfway between off and on. Flip it to the off position and reset the breaker, then flip it back on. If you see signs of visible damage, the breaker box is warm to the touch, or you smell burning wires, turn the breaker box off. Call an electrician.
  • Check the fuse box – Common signs of blown fuses are discoloration and melting. Be sure to use the right fuse to replace the blown fuse.
  • Examine the outlet itself – It’s not uncommon for an outlet to burn out. If you see signs of discoloration around the outlet, a small fire may have occurred. This is dangerous and it’s time to call an electrician to replace the outlet.
  • Flip a switch – A half-hot outlet is one in which one plug is always on but the other plug-in only works if you flip a nearby light switch.
  • Reset the GFCI – Ground fault circuit interrupters are designed for safety. If a GFCI outlet detects a power surge or short, it can shut itself off to protect you. There are two buttons located between the plug-ins. The red button is the reset button. Push it to get the outlet working again.
    The black button is a test button. To check that any GFCI outlet is working properly, push the black button. The plugged-in appliance should turn off, so then you reset it. If you press the black button and the appliance doesn’t turn off, there’s a problem with your GFCI outlet and you should call an electrician.

2. Check the Appliance, Electronic

Your problem may not be with your home’s electrical system. The obvious thing is to make sure your appliance or electronic is securely plugged in. If it is, unplug the non-working appliance and plug another into the outlet. If the outlet works fine with another device, it’s not an outlet problem.

If it’s a light or lamp, it could be the bulb. Years ago, you could visually spot a blown lightbulb. To check it today, you’ll need to insert a new lightbulb. If the new bulb doesn’t work, check it by inserting it into another fitting. If it works in another fixture, it’s time to call your electrician.

3. Problematic Power Outages

When your neighborhood loses power, you simply wait it out or revert to whole-house generator power. But if it’s just your house, check the circuit breaker. It has a safety switch. If it’s flipped off, reset it. If it keeps tripping, there’s a problem with the electrical circuitry or the panel itself. If your home has a fuse box, it can be several issues. (Call an electrician and consider upgrading to a circuit breaker box with protective safety switches.)

4. Feel The Walls

If you have any electrical outlet or switch problems, feel the walls around the area. If the nearby wall feels warm to the touch, this is an electrical emergency.

5. Unplug

Most new homes today can accommodate the additional electrical demands, but not-that-much-older homes can be overwhelmed by power requirements. Let’s say every member of the household is plugged-in, charging, washing/drying, the dishwasher is running, all lights are on, and your hairdryer blows the circuit. Your power outage can be managed by unplugging a few things. Later, ask your electrician what can be done to safely manage and eliminate power overloads.

Any time you have questions about home electrical problems, contact Turn It On Electric.

Categories Electrical Wiring

Do I Need an Electrician To Move an Outlet?

move an outlet

Most electrical outlets last between 10-25 years, but they don’t last forever. Badly installed or problematic outlets can need replacement in just a few years. During renovation projects, it’s not uncommon to move an outlet.

Electrical work is rarely simple. And without electrical experience, it can be dangerous. You can install or move an outlet in your home if:

  • You have electrical training.
  • You understand your home’s circuitry.
  • You have the necessary tools and hardware.
  • You have very good medical and life insurance.

Understanding the basics will explain why you need an electrician to install or move an outlet.

What You Need To Know To Move an Outlet

A local electrician can usually relocate an outlet in about 40 minutes. To DIY (do-it-yourself) move an outlet, you need a lot more time. You’ll also need:

  • 14-2 Romex cable for an indoor outlet in a dry location
  • Blank outlet cover
  • Drill
  • Keyhole- or drywall-saw
  • Micro-ohmmeter
  • Outlet box w/swing-out mounting tabs
  • Outlet cover
  • Pencil
  • Screwdriver
  • Voltmeter
  • Wire cutters/strippers
  • Wire nuts
  • Wiring/cable with corrosion-resistant jacket (PVC is recommended) and wet-location rated conductors for outlets near showers/toilets

Some wires can’t be moved. Or the wiring may be fine but it’s too short for the new location. One of the biggest mistakes DIYers make is leaving old wiring behind a wall in a messy tangle. Always removed old wiring, even if it’s “dead to you.”

How To Identify Unsafe Outlet Wiring

Age is one way to determine if wiring is unsafe. Homes built in the 1930s vs. homes in the ’60s, ’80s… Just as technology evolves, electrical standards and practices change with time.

Something to look for when moving an electrical outlet is “backstabbing.” It’s a problem you don’t want to repeat. Backstabbing is when neutral wires’ ends are cut, and the insulation removed. The bare wires are then shoved into the back of the outlet.

Backstabbing electrical wires was commonplace in the 1970s and ’80s, but it’s a fire hazard and no longer used by professional electricians. Additional problematic home outlet wiring we encounter includes:

  • Knob and tube – This is the oldest home wiring and is often found in homes built before 1940. There’s usually a dirt buildup that makes it difficult to tell the difference between neutral and hot wires, and it’s likely ungrounded. This must be removed, not relocated.
  • Leaded sheathed – Homes built before 1950 may have lead-covered electrical wiring. It must be removed, not relocated.
  • Rubber-sheathed wiring – Rubber-insulated wiring was used in homes between 1950-1980. It crumbles and can be an arcing/fire hazard. If your home has this type of wiring, you should have annual electrical inspections. For remodeling purposes, it must be removed, not relocated.

Completing the Project: Moving an Electrical Outlet

The area to which your outlet is to be relocated must be carefully prepared. You must mark where you want the outlet installed and use the proper tools for cutting or positioning.

The final process for moving your outlet is to feed the wire through the wall mount. Snugly affix Phillips screws in each corner, then:

  1. Connect the wire to the outlet’s receptacle.
    • Black wire connects to the hot screw.
    • Copper wire connects to the ground screw.
    • White wire connects to the neutral screw.
  2. Secure the outlet in the cut-in box then install the cover plate.
  3. Screw a blank plate into the old electrical outlet.

Why You Need a Licensed, Phoenix Electrician

Arizona people value time and money. There are numerous internet DIY videos and processes, but the reality is, you need an electrician for electrical work.

  • TIO Electric is LEEDS-certified and State of Arizona-licensed.
  • You’ll save money if we find a potential or current problem. We can fix it now rather than return later and avoid another call-out charge.
  • We know Valley electrical codes and energy requirements inside out.
  • We understand your home’s electrical system and ways to safety-check every project. This includes knowing what kind of electrical load your home can handle.

We want you to know more about your home’s electrical system. When you know more, you’ll know to contact Turn It On Electric for electrical upgrades.