Categories Residential

The Benefits of LED Retrofitting for Older Homes

Why LED Retrofitting is Ideal for Older Homes

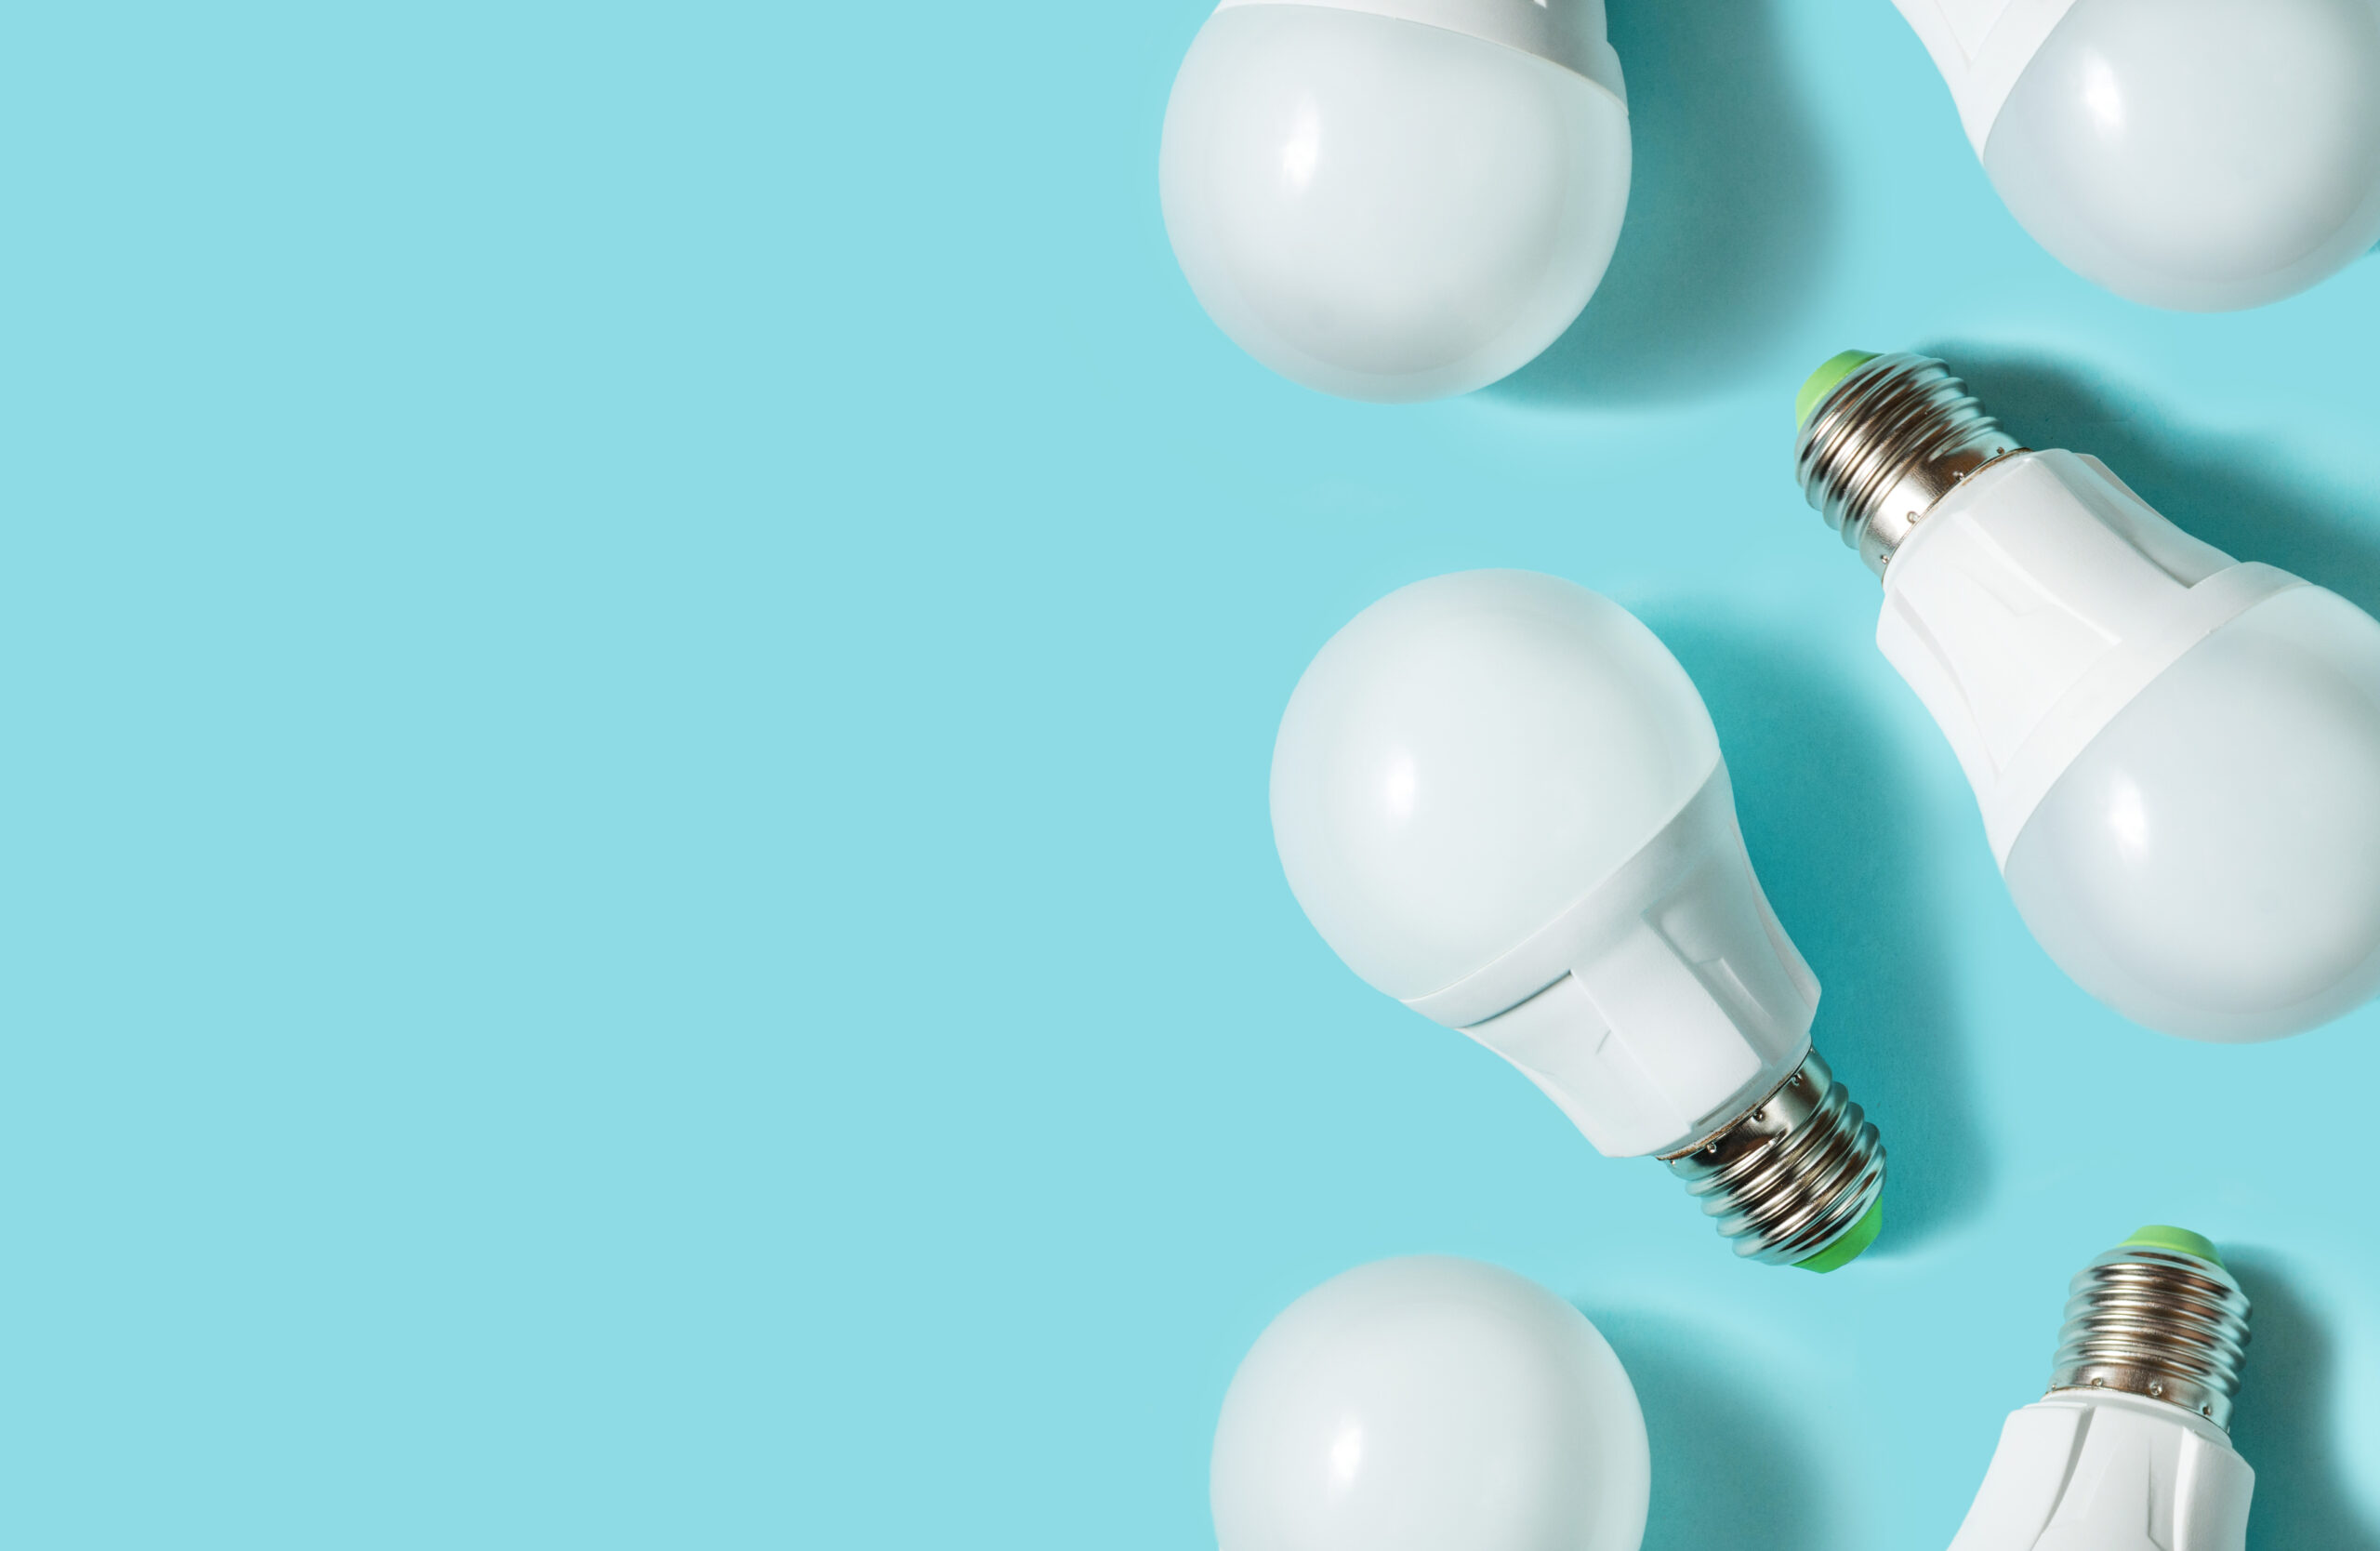
Older homes often come with charm and character but can lack the energy efficiency found in modern builds. One of the easiest and most impactful ways to enhance energy savings in an older home is through LED retrofitting. Switching from traditional lighting to LED offers numerous benefits, from cost savings to improved lighting quality, all while reducing environmental impact. For homeowners looking to upgrade without a complete renovation, LED retrofitting is a practical solution that brings both functional and financial rewards.

Energy Efficiency: The Key Driver of LED Retrofitting

The primary reason for switching to LED lighting in older homes is energy efficiency. LEDs (Light Emitting Diodes) consume up to 75% less energy compared to incandescent bulbs. For older homes that may rely on outdated, inefficient lighting, this upgrade can lead to significant reductions in electricity bills. Over time, homeowners can save hundreds, if not thousands, of dollars by making the simple switch to LEDs.

Longevity: A Long-Term Solution for Lighting

Another major benefit of LEDs is their longevity. While incandescent bulbs may need replacing every year or so, LED bulbs can last up to 25 times longer. For homeowners, this means less frequent bulb replacements, reduced maintenance efforts, and fewer trips to the store. Given that many older homes may have hard-to-reach fixtures, such as chandeliers or high-ceiling lights, the longevity of LEDs becomes even more valuable.

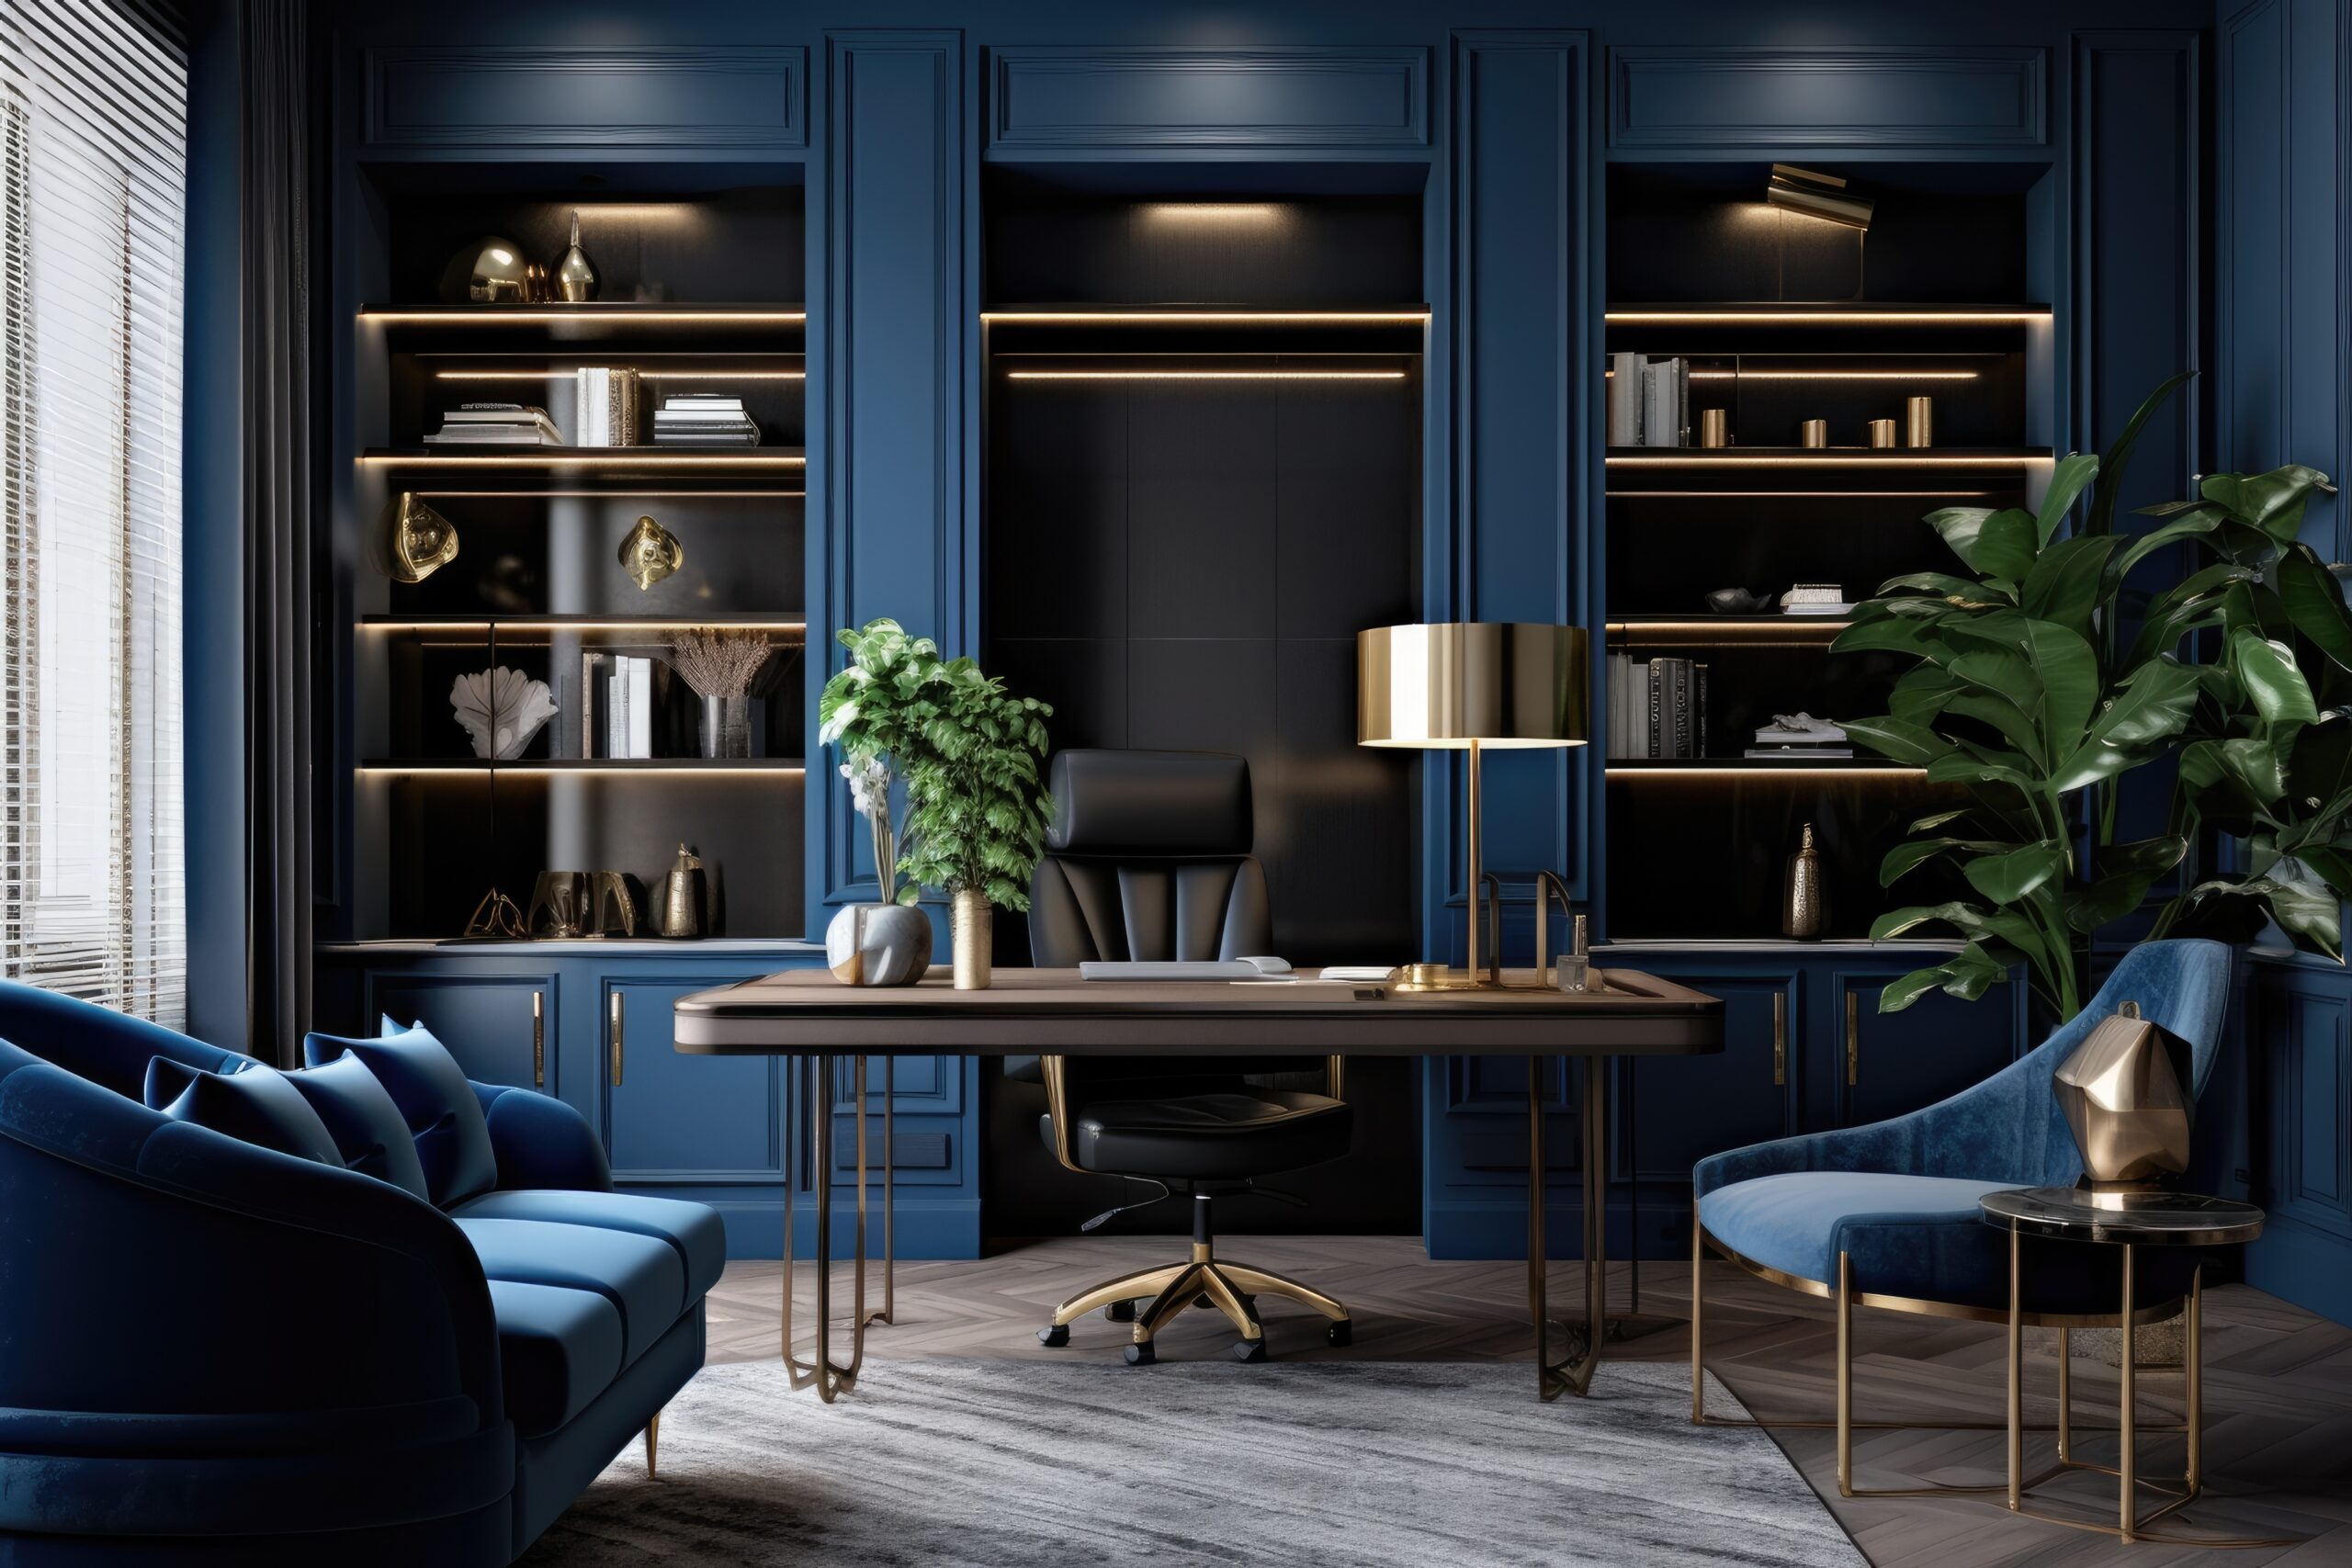
Improved Lighting Quality: Better Light, Better Ambiance

One of the often-overlooked benefits of LED retrofitting is the improved quality of light. LED lights are available in a range of color temperatures, from warm yellow tones to crisp white light, allowing homeowners to customize the ambiance of their spaces. Whether it’s creating a cozy living room or brightening up workspaces like kitchens or offices, LED lighting provides flexibility and better overall illumination. LEDs also offer better light distribution, ensuring that spaces are evenly lit, without the harsh shadows often associated with older bulbs.

Reduced Heat Output: A Cooler and Safer Home

Incandescent bulbs are notorious for emitting a significant amount of heat. In contrast, LED bulbs remain cool to the touch, even after long periods of use. For older homes with outdated wiring or limited ventilation, reducing heat output is a significant safety and comfort advantage. By retrofitting with LEDs, homeowners not only improve energy efficiency but also decrease the risk of accidental burns or fire hazards caused by overheated fixtures.

Environmental Impact: A Greener Choice

LED lighting is not just about energy savings; it’s also a greener choice for the environment. LEDs contain no harmful chemicals like mercury, which is found in some traditional bulbs. Additionally, their longer lifespan means fewer bulbs end up in landfills. For eco-conscious homeowners looking to reduce their carbon footprint, retrofitting an older home with LEDs is a practical step toward sustainability.

Compatibility with Smart Home Systems

Modern lighting solutions, like LEDs, are often compatible with smart home systems. Many older homes weren’t designed with smart technology in mind, but LED retrofitting allows homeowners to take advantage of features like smart dimming, scheduling, and remote control through smartphone apps. This integration can increase convenience and help further optimize energy usage by allowing homeowners to adjust lighting based on their routines.

Versatility in Design: LEDs Fit Any Style

LEDs aren’t just for standard light fixtures. They come in many different styles, from vintage filament designs to modern recessed lighting, allowing them to seamlessly integrate into any home, regardless of architectural style or interior design. For older homes that may boast historical charm or unique design elements, LEDs offer the versatility to maintain the home’s aesthetic while bringing it into the modern era.

Easy Installation: A Straightforward Upgrade

Retrofitting an older home with LED lighting is a relatively simple process, often requiring no extensive rewiring or construction. Most LED bulbs are designed to fit into existing fixtures, making the transition quick and hassle-free. This is especially important for homeowners who want to maintain the original character of their home without embarking on a major renovation project.

LED retrofitting offers a wealth of benefits, from energy efficiency and cost savings to improved lighting quality and safety. For older homes, the transition to LED lighting is an easy yet impactful upgrade that modernizes without sacrificing the home’s charm. Whether you’re looking to reduce your environmental footprint, lower utility costs, or enhance the lighting experience in your home, LED retrofitting is a practical solution that offers immediate and long-lasting rewards.

Categories Residential

Electrical Panel Upgrades/Replacements: Why, How, and When

What is an Electrical Panel, and Why is It Important?

Your home’s electrical panel, often referred to as the breaker box, is the central hub for distributing electricity throughout your house. It ensures that every appliance, light, and device gets the power it needs to operate safely and efficiently. As homes become more reliant on technology and electrical devices, the importance of a modern, well-functioning panel becomes even more critical. Without it, homes could face electrical inefficiencies or even hazards.

Signs It’s Time to Upgrade Your Electrical Panel

Frequent Circuit Breaker Trips

One of the most common signs that your electrical panel is struggling is frequent tripping of circuit breakers. This happens when the panel cannot keep up with the demand for power, causing it to shut off circuits to prevent overheating or overloading.

Flickering Lights and Power Surges

If your lights flicker or dim when you turn on an appliance or device, it may indicate that your panel is not distributing electricity evenly. Additionally, experiencing frequent power surges can point to an overloaded system, which puts your home at risk of electrical damage.

Use of Fuse Boxes or Outdated Panels

Homes with old fuse boxes or outdated panels are more susceptible to electrical failures and even fire hazards. Many of these older systems were not designed to handle modern power demands and can be a danger to your home’s safety.

Insufficient Capacity for Modern Technology

With the increase in home technology such as smart devices, EV chargers, and larger appliances, many older electrical panels simply don’t have the capacity to handle the load. If you’re planning to install high-energy consumption equipment, such as an electric vehicle charger, you may need to upgrade your panel to ensure it can manage the additional power.

Benefits of Upgrading Your Electrical Panel

Increased Capacity for Future Technology

A modern electrical panel provides more amperage, allowing it to handle the demands of the latest technology. Whether you’re installing energy-efficient appliances, adding smart home systems, or preparing for an electric vehicle, upgrading your panel ensures that your home is future-proofed.

Improved Energy Efficiency and Reduced Electrical Costs

New electrical panels are designed to distribute power more efficiently, reducing energy wastage and potentially lowering your utility bills. With an upgraded panel, you may also experience fewer power surges, extending the lifespan of your home appliances.

Enhanced Home Safety

An upgraded electrical panel provides better circuit protection, reducing the risk of fire or electrical hazards. Older systems may not have the necessary safeguards to prevent overheating or overloading, making modern systems a safer option for any home.

Boosted Home Value for Resale

Electrical upgrades, especially panel replacements, can significantly increase your home’s resale value. Potential buyers are more likely to be attracted to homes with modern, safe, and energy-efficient electrical systems, seeing them as a key investment.

What to Expect During an Electrical Panel Upgrade

Initial Inspection and Assessment by a Licensed Electrician

Before any work begins, a licensed electrician will conduct a thorough inspection of your home’s electrical system. They will assess the current panel, wiring, and circuit breakers to determine if an upgrade is necessary and if any additional work is required.

Typical Installation Process and Timeline

The installation process typically involves replacing the old panel with a new one, upgrading wiring and other components where necessary, and testing the system to ensure proper functionality. The job usually takes one day but may extend depending on additional work.

Necessary Permits and Compliance with Electrical Codes

Upgrading an electrical panel requires proper permits to ensure compliance with local and national electrical codes. Here at Turn It On Electric, our office staff handles all city and power company coordination on your behalf, ensuring an efficient and stress-free process.

Electrical Panel Upgrade Costs: Factors to Consider

Panel Size and Capacity

The size of the electrical panel you choose directly impacts the cost. Smaller 100-amp panels are less expensive but may not provide enough power for modern homes. Larger panels, such as 200-amp or 400-amp systems, provide more capacity but come with higher upfront costs.

Labor Costs for Installation

Labor costs will vary based on the complexity of the installation. If you need additional wiring or meter box upgrades, these will add to the total cost. It’s also critical to take into account the placement of the panel itself. It’s vital to get a detailed quote from your electrician to avoid surprises.

Additional Work

If your home requires additional work, such as rewiring or replacing the meter box, the overall cost will increase. Homes with older wiring systems may also need circuit upgrades to handle the new panel’s capacity, which can add to the complexity of the installation.

How to Choose the Right Electrical Panel for Your Home

Amperage Ratings (100A, 200A, 400A) and What They Mean

The amperage rating of an electrical panel determines how much power it can handle. A 100-amp panel may suffice for smaller homes with basic electrical needs, but for modern homes with advanced technology, a 200-amp panel is often the better choice. For larger homes or those expecting significant future power use (e.g., multiple EV chargers or solar power systems), a 400-amp panel may be ideal. Though, keep in mind, panels of these size are typically only used in commercial settings.

Future-Proofing for Technology Upgrades

When upgrading your panel, it’s wise to think ahead. Installing a panel that can support future technology, such as electric vehicle chargers, smart home systems, and renewable energy sources, ensures you won’t need another upgrade in the near future.

Why Turn It On Electric is Your Best Partner for Panels

Turn It On Electric provides expert services for electrical panel upgrades. Our licensed, bonded, and insured technicians have extensive experience with modern electrical systems and panels, ensuring that your upgrade is done safely, efficiently, and in compliance with all local electrical codes. Whether you’re looking to increase your panel’s capacity or upgrade for safety reasons, we offer professional solutions that fit your needs and budget.

Upgrading your electrical panel is a smart investment that improves your home’s safety, energy efficiency, and value. If you’re experiencing any issues such as frequent breaker trips or considering the addition of high-energy devices like EV chargers, it’s time to consult with a professional. Turn It On Electric is here to help with expert consultations and seamless panel upgrades to meet your home’s needs today and in the future. Contact us today for a free quote!

Categories Commercial, Residential

EV Chargers: Types, Specifications, and Installation Considerations

With the rapid growth in electric vehicle (EV) adoption, understanding the different types of EV chargers and their installation requirements has become increasingly important. Choosing the right EV charger not only affects your charging speed but also impacts your overall driving experience and home electrical setup. In this comprehensive guide, we will explore the various types of EV chargers, their specifications, power differences, and key considerations for installation to help you make an informed decision.

Types of EV Chargers

Level 1 Chargers

Specifications:
Level 1 chargers are the most basic type of EV charger, operating on a standard 120V household outlet. They typically deliver around 1.4 kW of power, which translates to about 4-5 miles of range per hour of charging.

Electrical Requirements:
Level 1 chargers can be plugged directly into a standard household outlet, making them the most accessible and cost-effective option for EV owners. They usually do not require any additional electrical work, making them ideal for those who drive shorter distances daily.

Best Use Cases:
Level 1 chargers are best suited for overnight charging at home, especially for EV owners who drive less than 40 miles per day. They are also a good fit for those who may have limited access to higher-level charging infrastructure.

Level 2 Chargers

Specifications:
Level 2 chargers are a step up from Level 1, operating on a 240V circuit. They offer power output ranging from 3 kW to 19 kW, allowing them to provide 15-30 miles of range per hour of charging.

Electrical Requirements:
Installing a Level 2 charger typically requires a dedicated 240V circuit, which may necessitate electrical upgrades, such as a new circuit breaker or even a panel upgrade. This type of installation should be carried out by a licensed electrician to ensure safety and compliance with local codes.

Best Use Cases:
Level 2 chargers are ideal for daily drivers who need a quicker charging solution. They are commonly installed in homes, workplaces, and public charging stations, providing a faster and more efficient way to recharge EVs.

DC Fast Chargers (Level 3)

Specifications:
DC Fast Chargers, also known as Level 3 chargers, are the most powerful EV charging option available. They operate on high-voltage systems (400V to 900V) and can deliver between 50 kW and 350 kW of power. This allows them to charge an EV battery to 80% in just 20-30 minutes.

Electrical Requirements:
Due to their high power demands, DC Fast Chargers require robust electrical infrastructure, including commercial-grade equipment and installation. They are typically found in public charging networks, fleet operations, and along highways for long-distance travel.

Best Use Cases:
DC Fast Chargers are best suited for public charging networks, commercial fleets, and situations where rapid charging is essential, such as during long road trips. They are not typically installed in residential settings due to their cost and power requirements.

Charging Time Overview

The time it takes to charge an EV depends largely on the type of charger used. Level 1 chargers are the slowest, providing only 4-5 miles of range per hour, making them suitable for overnight charging. Level 2 chargers offer a significant improvement, with 15-30 miles of range per hour, allowing most EVs to be fully charged in a few hours. DC Fast Chargers, on the other hand, can provide up to 80% charge in just 20-30 minutes, making them the fastest option available.

Electrical Requirements for EV Charger Installation

Home Electrical Panel Considerations

Before installing an EV charger, it’s crucial to assess your home’s electrical panel. Level 1 chargers can typically be installed without any modifications, but Level 2 chargers require a dedicated 240V circuit, which may necessitate a panel upgrade if your existing panel doesn’t have sufficient capacity. A licensed electrician can evaluate your panel and determine if upgrades are needed.

Circuit Requirements

Each type of charger has specific amperage requirements. Level 1 chargers usually operate on a 15-20 amp circuit, while Level 2 chargers may require anywhere from 20 to 60 amps, depending on the model. Installing a dedicated circuit for your EV charger is essential to prevent overloading your electrical system and ensure safe and efficient operation.

Installation Considerations for EV Chargers

Distance from Electrical Panel

Impact on Installation Costs:
The distance between your electrical panel and the location of the EV charger can significantly affect installation costs. The longer the distance, the more wiring and conduit are required, which can increase both material and labor costs. In some cases, trenching or conduit work may be needed if the charger is installed outdoors or in a detached garage.

Safety and Efficiency Considerations:
To minimize voltage drop and ensure efficient charging, it’s advisable to install the charger as close to the electrical panel as possible. Keeping the charger close to the panel also helps to comply with local electrical codes and reduces the risk of potential hazards, as well as keep the overall cost of installation much lower.

Outdoor vs. Indoor Installation

Weatherproofing and Durability:
When installing an EV charger outdoors, it’s essential to choose a unit that is weatherproof and rated for outdoor use. Look for chargers with a high IP (Ingress Protection) rating, which indicates their ability to withstand dust, water, and other environmental factors.

Convenience and Accessibility:
The placement of your EV charger should also consider convenience and accessibility. Outdoor installations may offer easier access for charging multiple vehicles or accommodating guests, while indoor installations provide protection from the elements and potential theft.

Future-Proofing Your Installation

Preparing for Higher Power Chargers:
As EV technology advances, future vehicles may require higher power chargers. To future-proof your installation, consider installing conduit and wiring that can handle higher power levels, even if you start with a Level 2 charger. This will make it easier to upgrade to a more powerful charger down the line without needing extensive electrical work.

Considering Multiple EVs:
If you plan to own multiple EVs or anticipate future needs, it’s wise to plan for the installation of multiple chargers or a dual-port charger. This can save time and money in the long run, ensuring that your home is equipped to handle increased charging demands.

Cost Breakdown of EV Charger Installation

Equipment Costs

The cost of EV chargers varies depending on the type and features. Level 1 chargers are the most affordable, often included with the purchase of the vehicle. Level 2 chargers range from $300 to $1,200, depending on the model and features like smart connectivity or Wi-Fi control. DC Fast Chargers are significantly more expensive, often costing $10,000 or more, and are typically used in commercial settings.

Installation Costs

Installation costs can vary widely based on several factors, including the type of charger, the need for electrical upgrades, and the distance from the electrical panel. It’s important to consider permit fees, potential panel upgrades, and any additional work like trenching when budgeting for the installation. Turn It On Electric requires a technician to get onsite in order to provide a quote for this.

Choosing and installing an EV charger is a crucial step in your journey as an electric vehicle owner. By understanding the different types of chargers, their power outputs, and the electrical requirements, you can make an informed decision that meets your needs both now and in the future. At Turn It On Electric, we’re here to help you every step of the way, from selecting the right charger to ensuring a safe and cost-effective installation. Contact us today to learn more about our EV charger installation services and take the next step toward a sustainable future.

Categories Residential

Maximizing Home Comfort with Ceiling Fan Installation

Living in Arizona means dealing with intense heat for much of the year. Managing indoor temperatures can be challenging, and while air conditioning is essential, it often leads to high energy bills. That’s where ceiling fans come in. Ceiling fans are an affordable, energy-efficient way to enhance comfort in your home, helping to keep rooms cool in the summer and warm in the winter. In this guide, we’ll explore how ceiling fans can maximize your home’s comfort, the importance of professional installation, and how to choose the right fan for your space.

The Benefits of Ceiling Fans in Arizona Homes

Enhanced Comfort Year-Round

Ceiling fans are more than just a cooling device for the summer. In fact, they can be used year-round to improve indoor comfort. In the summer, ceiling fans create a cooling breeze that makes the air feel up to 8 degrees cooler, allowing you to raise your thermostat and reduce air conditioning costs. During the winter, by reversing the fan’s direction, you can push warm air down from the ceiling, helping to maintain a comfortable temperature without overworking your heating system.

Energy Efficiency and Cost Savings

One of the biggest advantages of ceiling fans is their ability to lower energy costs. By circulating air efficiently, ceiling fans reduce the need for constant air conditioning or heating, leading to significant energy savings. Running a ceiling fan costs just pennies a day, making it one of the most cost-effective ways to enhance your home’s comfort while keeping utility bills in check.

Improved Air Circulation

Good air circulation is essential for maintaining a healthy indoor environment. Ceiling fans help distribute air evenly throughout the room, preventing hot or cold spots and ensuring a consistent temperature. Improved circulation can also help reduce humidity levels, making your home feel more comfortable even on the hottest days.

Choosing the Right Ceiling Fan for Your Home

Size and Placement

Selecting the right size ceiling fan for your room is crucial for optimal performance. A fan that’s too small won’t circulate air effectively, while one that’s too large may create an overpowering breeze. Generally, for rooms up to 75 square feet, a fan with a 29-36 inch blade span is recommended. For larger rooms, like living rooms or master bedrooms, consider a fan with a blade span of 52 inches or more. Placement also matters—fans should be installed in the center of the room and at least 7-9 feet above the floor for best results.

Blade Material and Design

In Arizona’s dry, hot climate, the material of the fan blades is important. Opt for blades made from durable materials like metal or high-quality wood that can withstand the heat without warping or cracking. The design of the blades also plays a role in efficiency—blades with a greater pitch (angle) move more air and are generally more effective at cooling a room.

Energy-Efficient Models

When shopping for ceiling fans, look for models that are ENERGY STAR® certified. These fans use advanced technology to move air more efficiently, using up to 60% less energy than standard fans. Some models also come with features like remote controls, programmable timers, and smart home compatibility, which can further enhance energy savings and convenience.

Why Professional Installation Matters

Ensuring Safe and Secure Installation

Installing a ceiling fan may seem like a simple task, but it involves more than just attaching it to the ceiling. Proper installation requires secure mounting to ensure the fan doesn’t wobble or come loose, as well as safe electrical connections to prevent short circuits or electrical fires. A professional electrician like TIO can ensure that your fan is installed securely and safely, giving you peace of mind and a perfectly functioning fan.

Optimal Performance

A ceiling fan that’s not properly installed may not perform as efficiently as it should. Professional installation ensures that the fan is balanced, operates smoothly, and is positioned for maximum airflow. Electricians can also install any additional wiring or controls needed for advanced features like dimmable lights or remote control operation.

Avoiding Common DIY Mistakes

DIY ceiling fan installation might save a few bucks upfront, but mistakes can be costly in the long run. Common issues like improper mounting, incorrect wiring, or unbalanced blades can lead to poor performance or even damage to your ceiling or electrical system. Hiring a professional helps you avoid these pitfalls and ensures your fan is installed correctly the first time.

Ceiling Fan Maintenance Tips for Arizona Homeowners

Regular Cleaning and Care

Keeping your ceiling fan clean is essential for maintaining its efficiency. Dust and debris can accumulate on the blades, causing the fan to work harder and less effectively. Regularly dust the blades and wipe them down with a damp cloth to prevent buildup. Don’t forget to clean the motor housing and light fixtures as well.

Seasonal Adjustments

To get the most out of your ceiling fan year-round, adjust the direction of the blades depending on the season. In the summer, set the fan to rotate counterclockwise to create a cooling breeze. In the winter, reverse the direction to clockwise at a low speed to push warm air down from the ceiling.

When to Call for Repairs

Even with regular maintenance, ceiling fans can develop issues over time. If your fan starts making unusual noises, wobbles excessively, or fails to operate, it’s time to call a professional. Ignoring these signs can lead to more serious problems, including damage to your electrical system or ceiling.

The Role of Ceiling Fans in Home Décor

Matching Style with Functionality

Ceiling fans are available in a wide range of styles, from modern and sleek to traditional and ornate. When choosing a fan, consider both its functionality and how it will fit into your home’s décor. A well-chosen fan can complement your interior design and even serve as a focal point in the room.

Popular Ceiling Fan Styles

Some popular ceiling fan styles for Arizona homes include contemporary fans with minimalist designs, rustic fans with wood blades for a more traditional look, and industrial-style fans with metal blades and exposed hardware. Whatever your style, there’s a ceiling fan that can enhance both the comfort and aesthetics of your space.

How Turn It On Electric Can Help

At Turn It On Electric, we specialize in ceiling fan installation for Arizona homeowners. Our experienced electricians ensure that your fan is installed safely and performs optimally. We can also assist with selecting the right fan for your needs and provide ongoing maintenance to keep it running smoothly. With our expertise, you can enjoy all the benefits of a ceiling fan without the hassle of installation or repairs.

Conclusion

Ceiling fans are a versatile and energy-efficient way to enhance comfort in your Arizona home. Whether you’re looking to reduce energy costs, improve air circulation, or add a stylish touch to your décor, a ceiling fan is a smart investment. By choosing the right fan and ensuring professional installation, you can enjoy year-round comfort and savings. If you’re considering a ceiling fan installation or upgrade, Turn It On Electric is here to help.

Categories Residential

Essential Electrical Upgrades for Your Home Office

More people are setting up dedicated home offices to stay productive and comfortable while working from home. However, creating an efficient and safe home office isn’t just about choosing the right desk or chair—your electrical system plays a crucial role as well. Proper electrical upgrades can ensure that your home office is not only functional but also optimized for the modern demands of technology. Let’s explore some of the best electrical upgrades for your home office.

Dedicated Circuits for Your Home Office

Why You Need a Dedicated Circuit

If you’re using your home office for work every day, chances are you’re running multiple electronic devices—computers, monitors, printers, and more. These devices can put a significant load on your home’s electrical system. A dedicated circuit for your home office can prevent overloads, reduce the risk of tripped breakers, and ensure a stable power supply for your essential equipment.

How to Install a Dedicated Circuit

Installing a dedicated circuit involves adding a new circuit breaker to your electrical panel and running new wiring to your office space. This is not a DIY job; it’s important to hire a licensed electrician to perform the installation. A professional will ensure that the circuit is properly rated for your equipment and meets all local building codes.

Advanced Surge Protection

Protecting Your Equipment

Your home office likely contains expensive and sensitive electronics. Power surges, which can be caused by lightning strikes, power outages, or even turning on a high-powered appliance, can damage or destroy these devices. Advanced surge protection is essential to safeguard your investments.

Whole-House vs. Individual Surge Protectors

There are two main types of surge protection: whole-house surge protectors and individual plug-in devices. Whole-house protectors are installed at your electrical panel and provide broad protection against surges entering your home. Individual protectors are plugged directly into outlets and protect specific devices. For the best protection, consider using both types in conjunction.

Proper Grounding for Sensitive Electronics

Understanding Grounding

Grounding is an essential safety feature of any electrical system. It provides a path for electrical currents to safely dissipate into the earth, protecting your devices and reducing the risk of electrical shock. In a home office, proper grounding is especially important for protecting sensitive electronics like computers and networking equipment.

Upgrading Your Grounding System

If your home is older, it may not have adequate grounding. An electrician can assess your current system and make necessary upgrades to ensure that your home office is properly grounded. This may involve adding ground rods, upgrading outlets, or installing grounding conductors.

Upgraded Lighting for Productivity

Choosing the Right Lighting

Good lighting is critical for maintaining productivity and reducing eye strain in your home office. The right lighting can improve your mood, enhance focus, and even make video calls look more professional. Natural light is ideal, but if your office lacks windows, LED lighting is a great alternative.

Options for Home Office Lighting

Consider installing adjustable LED lighting that allows you to control brightness and color temperature. Dimmable lights or smart lighting systems can give you the flexibility to change the lighting based on your needs throughout the day. Task lighting, such as desk lamps with adjustable arms, can also help illuminate your workspace without causing glare on screens.

Power Management and Outlet Placement

Strategic Outlet Placement

One of the most common frustrations in home offices is the lack of accessible power outlets. When setting up your office, consider where you’ll place your desk, computer, and other equipment. Installing additional outlets in convenient locations can eliminate the need for extension cords and reduce clutter.

Installing USB Outlets

The Convenience of USB Outlets

Many modern devices, such as smartphones, tablets, and wireless accessories, charge via USB. Installing USB outlets in your home office can free up standard outlets for other devices and reduce the need for bulky adapters. These outlets combine standard AC outlets with USB ports, providing a streamlined charging solution. This is another task best handled by a professional electrician, who can ensure that the new outlets are safely installed and properly wired.

Backup Power Solutions for Your Home Office

Ensuring Uninterrupted Power

Power outages can be particularly disruptive when you’re working from home. Having a backup power solution in place can keep your essential equipment running and prevent data loss during an outage.

Best Backup Power Options

Uninterruptible Power Supplies (UPS) are the most common backup power solution for home offices. A UPS provides short-term power to your devices, giving you time to save your work and safely shut down. For longer outages, consider investing in a home generator or battery backup system.

Network and Connectivity Enhancements

Structured Wiring for Internet Stability

A strong, reliable internet connection is crucial for remote work. Structured wiring, such as Ethernet cables, can provide a faster and more stable connection compared to Wi-Fi, particularly in areas with thick walls or interference.

Energy Efficiency in Your Home Office

Smart Thermostats and Energy Management

Working from home means you may be using more energy during the day than before. A smart thermostat can help manage your heating and cooling efficiently, saving energy when you’re not using your office and maintaining comfort when you are.

Choosing Energy-Efficient Equipment

Investing in energy-efficient computers, monitors, and lighting can reduce your overall energy consumption. Look for ENERGY STAR-rated devices and consider using power-saving modes to cut down on electricity use.

Safety Considerations

Regular Electrical Inspections

Safety should always be a priority in your home office. Regular electrical inspections can help identify potential hazards, such as outdated wiring or overloaded circuits, and ensure that your office setup meets current electrical codes.

Childproofing and Fire Safety

If your home office is accessible to children, consider childproofing outlets and keeping cords out of reach. Additionally, make sure your office is equipped with a working smoke detector and fire extinguisher for added safety.

Professional Help for Your Electrical Upgrades

When to Call an Electrician

While some electrical upgrades can be handled by handy homeowners, others require the expertise of a professional electrician. If you’re unsure about your ability to safely complete an upgrade, it’s best to call in a professional.

Conclusion

Your home office is more than just a place to work—it’s a space that should be safe, comfortable, and conducive to productivity. By making the right electrical upgrades, you can create a home office that meets all your needs and supports your remote work lifestyle. Take the time to assess your current setup, and consider implementing some of these essential upgrades to enhance your workspace. Contact Turn It On Electric today to schedule for a no cost, onsite consultation!